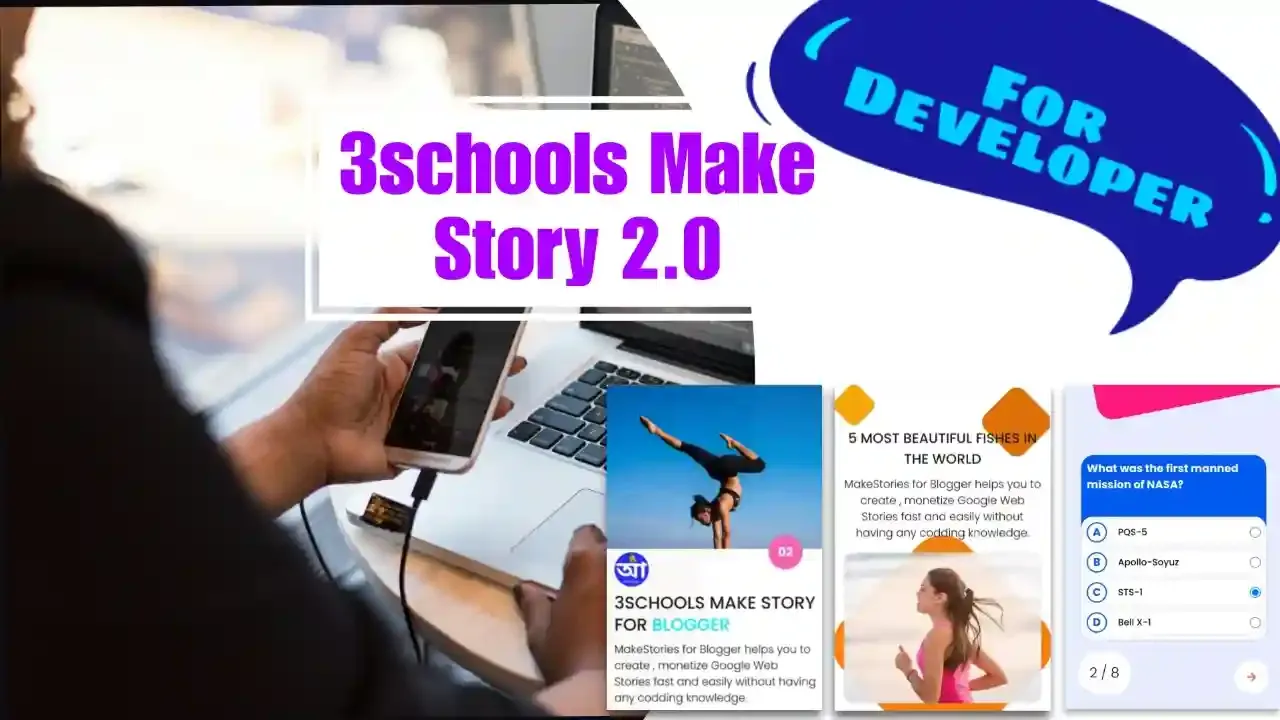
3schools Make Story 2.0 for developer
If you are a developer (html & css) and want to create a custom page for "3schools Make Story 2.0", this article will help you.
Each page is essentially an HTML file that you can upload directly into our Make Story Editor. We have more than 30 pages for Google Web Story. Following this post, you can create a new one for yourself or others. See all pages.

First, download the sample HTML file and open it in a code editor like Notepad or Visual Studio Code. Note that a page only contains the form element. Please follow the steps outlined below.
- As I mentioned earlier, this page is intended solely for development purposes. That's why it also contains the <style> and <link> tags. You don't need to edit those - just focus on the <form> element.
-
The <form> element has a style attribute, which allows you to change the background-color value to any valid hexadecimal color code. It has also some data attributes:
- data-0="10": This attribute sets the duration for the current page to 10 seconds. It determines how long the page will be displayed before automatically transitioning to the next page in the Google Web Story.
- data-1="", data-2="": These attributes are used to add a link to the current page. If you want to include a link, you can set data-1 to the link text (e.g., "Download") and data-2 to the actual link URL (e.g., "https://www.3schools.in/page.html").
- data-3="#244000": This attribute sets the background color of the current page to the hexadecimal color code "#244000". This value matches the background-color set in the form's style attribute.
- data-4="Image": This attribute specifies that the background media for the current page is an image. You can also set this to "Video" if you want to use a video as the background.
- data-5="", data-6="": These attributes are used to display an image or video on the current page. If you want to include a background image or video, you can set data-5 to the image or video link and data-6 to the alternative text for the image.
- data-7="fade-in": This attribute sets the animation type for the background media (image or video) to a "fade-in" effect. You can choose from various animation types, such as "twirl-in", "fly-in-left", "fly-in-bottom", "drop", etc. See more
- data-8="0", data-9="0": These attributes control the start and end positions or timing of the animation. data-8 sets the duration of the animation, while data-9 sets the delay before the animation starts.
-
Inside the <form> element, there is a <div> with the class "quiz-lower" and the attribute contenteditable="true". This means that the content within this <div> can be edited directly by the user.
To display content on the page, you can add HTML elements and content inside this "quiz-lower" <div>. Since this is an inline element, you should use inline CSS to style the content as needed.
For example, you could add a <p> tag with some text and apply inline styles like this:
<div class="quiz-lower" contenteditable="true">
  <p style="color: #ffff00; font-size: 18px; font-weight: bold">This is some editable content for the page.</p>
</div>
Remember, the content inside this editable <div> will be displayed as part of the final Google Web Story page. Users can modify this content as needed during the development and editing process.
The absolute class can be applied to any element within the "quiz-lower" div to position that element in an absolute manner, with the element being positioned at the bottom of the div and stretching across the full width. Also can use these attributes animate-in="fly-in-bottom" animate-in-delay="0s" animate-in-duration="2.5s". See more
<div class="quiz-lower" contenteditable="true">
  <div class="absolute" animate-in="fly-in-bottom" animate-in-delay="0s" animate-in-duration="2.5s" style="bottom:50px;left:40px;background-color:#ff00ff;padding:8px;border-radius:50%;height:50px;width:50px">
  </div>
</div>
-
Do not use the <img> tag to add an image on a page. Instead, use the following <div> element:
<div class="quiz-lower" contenteditable="true">
  <div class="absolute" animate-in="whoosh-in-right" animate-in-delay="0s" animate-in-duration="2s" style="height: 50px; width: 50px;bottom: unset;right: unset;top: 5%;left: 5%;">
   <div class="addImg" style="background-image: url(https://app.3schools.in/logo.png); height: 100%; width: 100%; background-repeat: no-repeat; background-size: cover;"></div>
  </div>
</div>
In this way, you can change the image position by changing the property in the style attribute. You can also change the animation.
Note: When someone uploads this page in the 3schools web story editor, they can also change the image from the tool.
- When the development is complete, create a new HTML file and insert only the <form> element. Now, upload the created page to the 3schools web story editor and click the preview button.
| Animation | Default duration (ms) | Default delay (ms) |
| drop | 1600 | 0 |
| fade-in | 500 | 0 |
| fly-in-bottom | 500 | 0 |
| fly-in-left | 500 | 0 |
| fly-in-right | 500 | 0 |
| fly-in-top | 500 | 0 |
| pulse | 500 | 0 |
| rotate-in-left | 700 | 0 |
| rotate-in-right | 700 | 0 |
| twirl-in | 1000 | 0 |
| whoosh-in-left | 500 | 0 |
| whoosh-in-right | 500 | 0 |
| pan-left | 1000 | 0 |
| pan-right | 1000 | 0 |
| pan-down | 1000 | 0 |
| pan-up | 1000 | 0 |
| zoom-in | 1000 | 0 |
| zoom-out | 1000 | 0 |


